
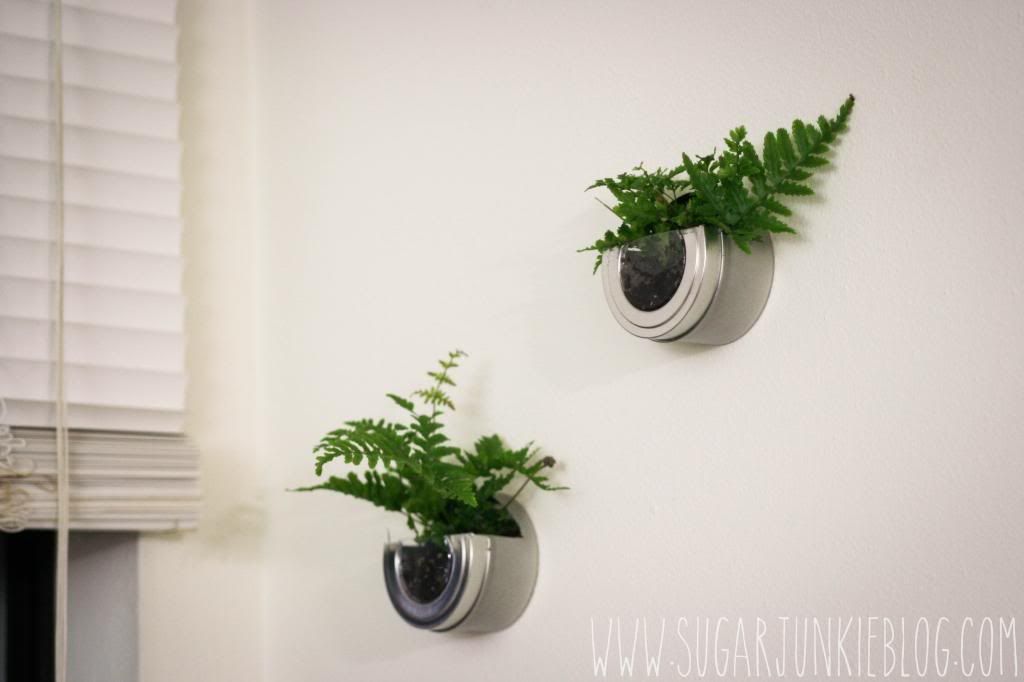
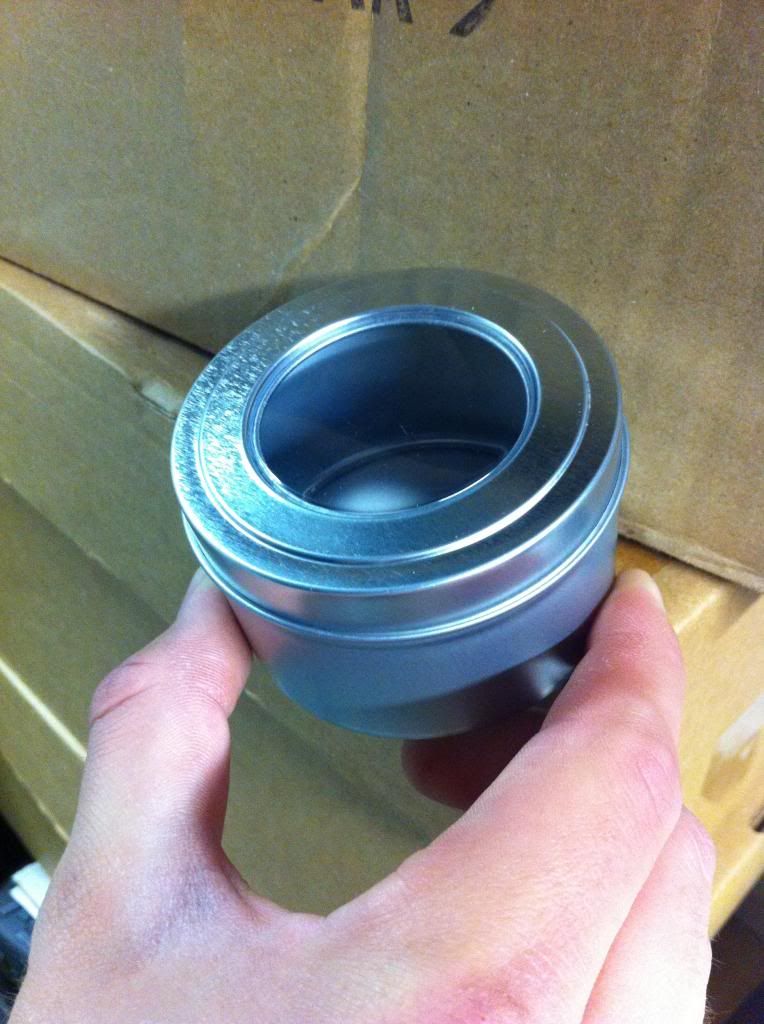
We made these really crafty looking wall-mounted planters and they turned out great for being a DIY project for under $10. We bought these tins for $1.50 each at Michael's craft store, we originally bought 2 tins to start off with but after making these, we were happy with how they turned out so much that we went back and bought 3 more. The tins originally looked like this...
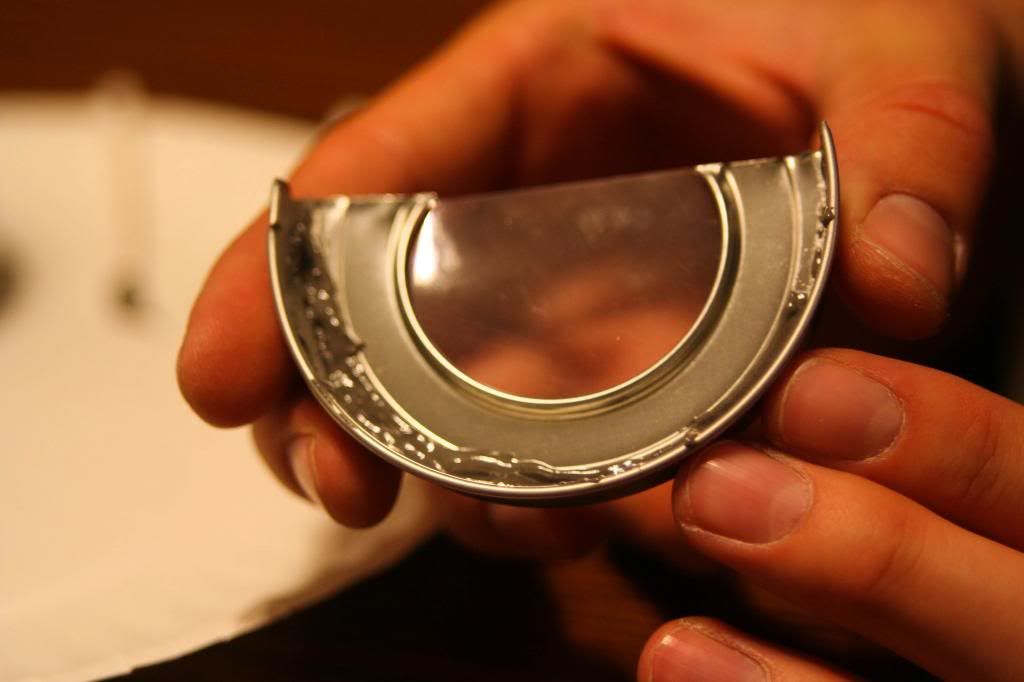
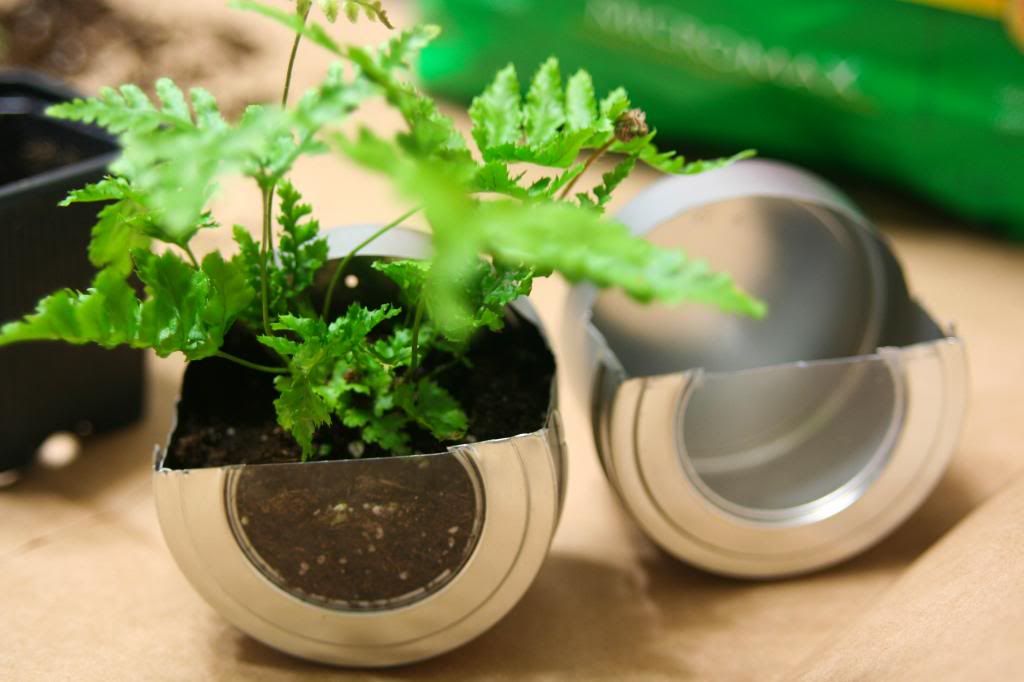
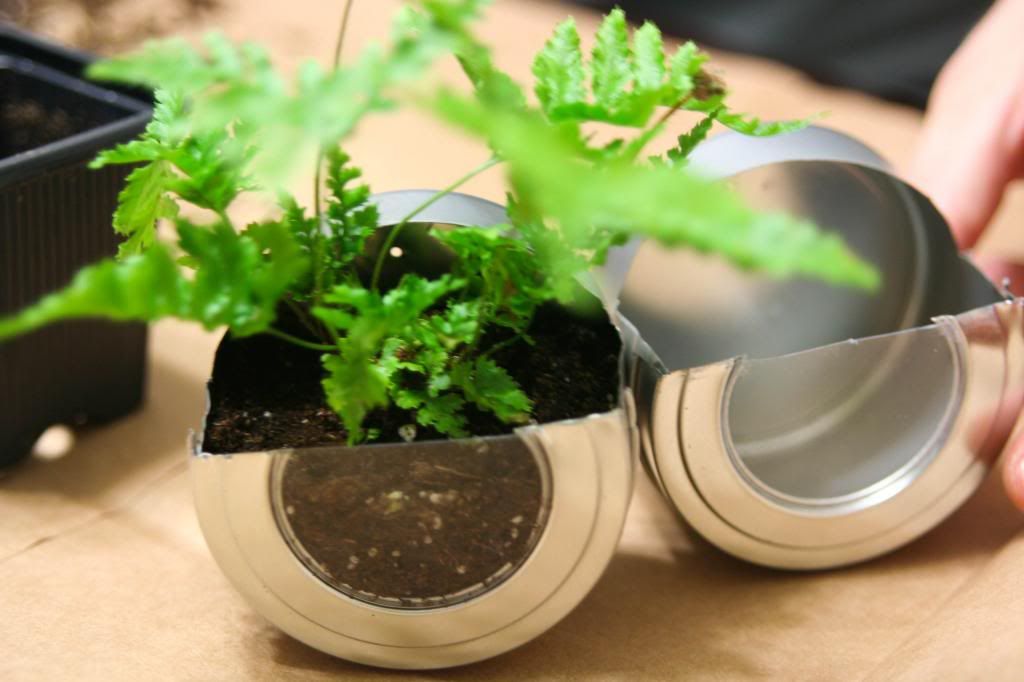
We used large tin snips (scissors or cutters made to cut into metal) to cut them into the shape we wanted. We needed to create an opening for the plant to grow out of, so we took off the cap and started cutting to get the piece you see below.

After cutting the tins into the shape we wanted, we needed to seal the cap onto the canister. We used a product called JB Weld, which is basically like liquid steel glue and some of the strongest stuff on the market. I highly recommend using caulk instead of JB weld or super glue. Caulk is waterproof and is much easier to work with than super glue or JB weld.
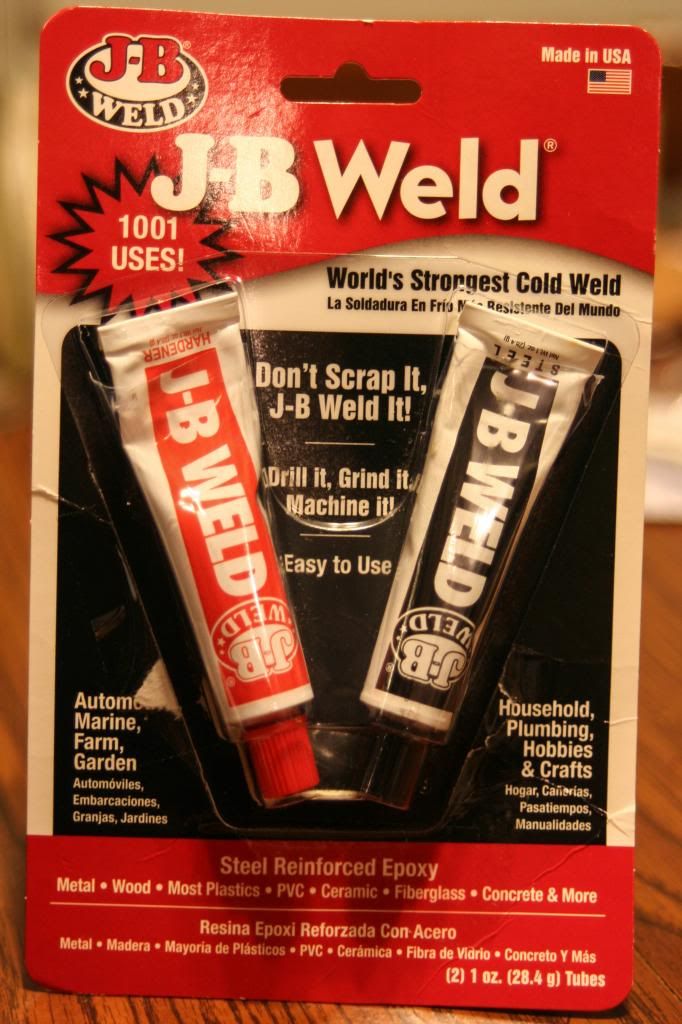
JB Weld is extremely difficult to work with. You must make sure you do not get it on anything, especially your skin. We used a q-tip with the cotton ends snipped off to handle the liquid and a paper plate to mix it on. Once the JB weld was spread onto the cap, we married the two pieces together and left it alone to dry for a few hours. Caulk will take longer to harden and dry, but is definitely the better option.
We drilled a tiny hole onto the bottom (re-purposed now as the back of the planter) which is where the nail or thumb tack will hang the planter into the wall.
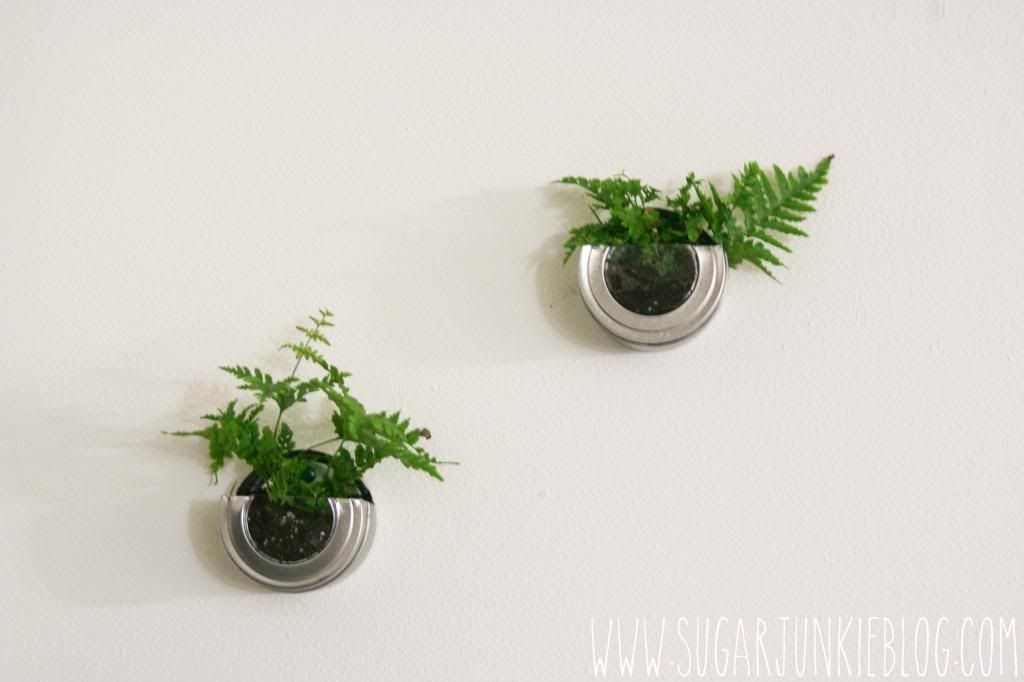
We bought a tiny little fern from Stein's Gardens and Gifts for about $2 and some potting soil from Walmart for $3. We separated the fern plant evenly into the two planters. Then once they were set up perfectly, we put them up on the walls adjacent to the windows.
We really like the fact that the clear plastic on the tins make great display windows for the plant and the soil. The planters are small but they've added color and life to an otherwise plain white wall. We plan on making 3 more, this time using caulk to seal them. Any questions or comments about this project, feel free to comment below the post.

- Kyle


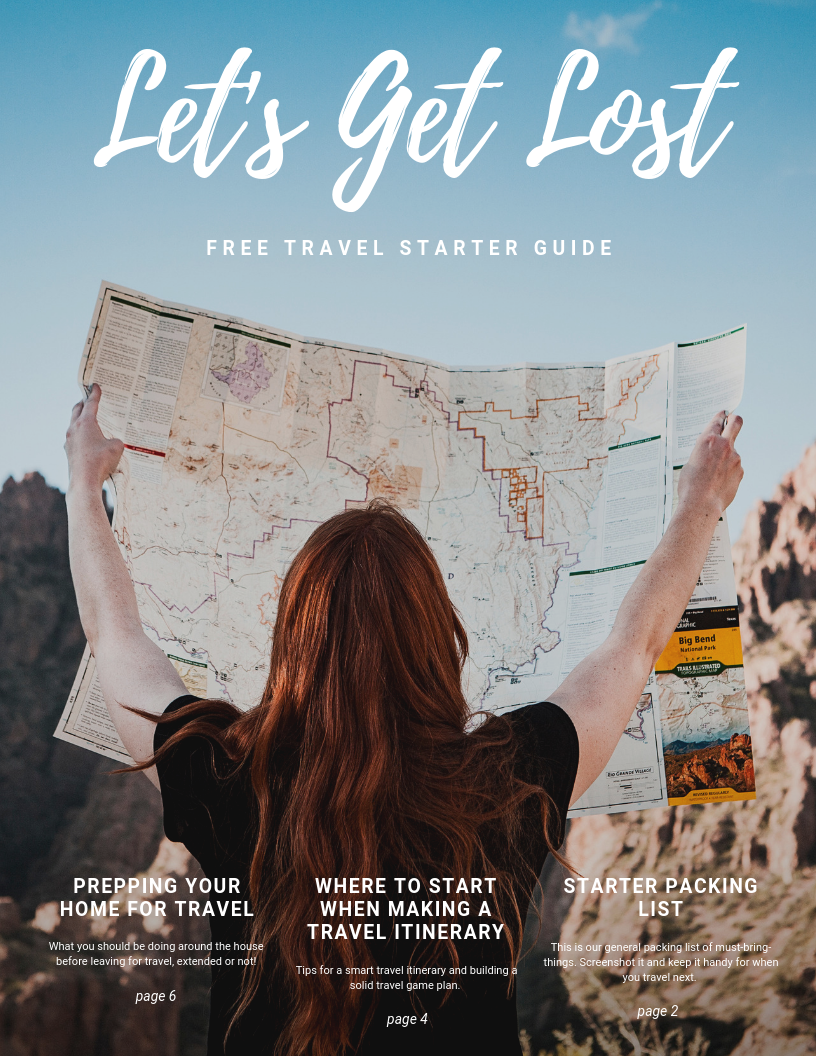 Subscribe to our blog posts via email and you'll receive a free downloadable Travel Starter Guide in your welcome email.


0 Comments