
Cutting Your Own High Waisted Shorts
Would you believe me if I told you that you can make your own high waisted shorts for less than $10? Possibly even less than $5?! I know, pics or it didn't happen, right? There's a thrift store here called Value Village that my sister and I frequent. There are certain days of the week where clothing is half priced. So if you found a pair of jeans for $8, they would be $4. Or a $6 pair of jeans would be $3. I scored 3 pairs of jeans at around $3 each, then cut them to make my own shorts.

I had no clue what I was doing. To be honest, I just YouTubed it. Then threw them in the washer and dryer to give the edges that "destroyed" and frayed look. They came out perfect! On one of them, I cut them a little too high but the next time we go thrifting, I plan on looking for more jeans to cut. Ruining something you bought for $3 isn't as heartbreaking as a $40 pair.
My sister is the one who actually has been doing this all summer. Her tips for doing it right? What you want to look for in those thrift store jeans are:
- Jeans that are SUPER WIDE in the thigh section. Why? If you cut jeans that fit your thighs tightly or just right, they will curl upwards and become even more tighter after being cut. Look for really wide legged jeans.
- High waisted jeans that are light or have the "acid wash" look to them. These look the best when cut, as the faded color gives it a more vintage appearance.
- Jeans that fit at the waist a little loosely, not too tight like regular jeans. When you wear high waisted shorts, you want some give at the waist to adjust.
Here are some photos. Excuse the quality, they were taken on my phone.
Closeup photos of the style of jeans you want to look for


I had a hard time imagining how they'd look as shorts because when I tried them on, they looked ridiculous!

After the cut!

Before:

After!


These turned out awesome after "destroying" them in the washer and dryer.
The frayed edges make them look way better!

Happy Thrifting!


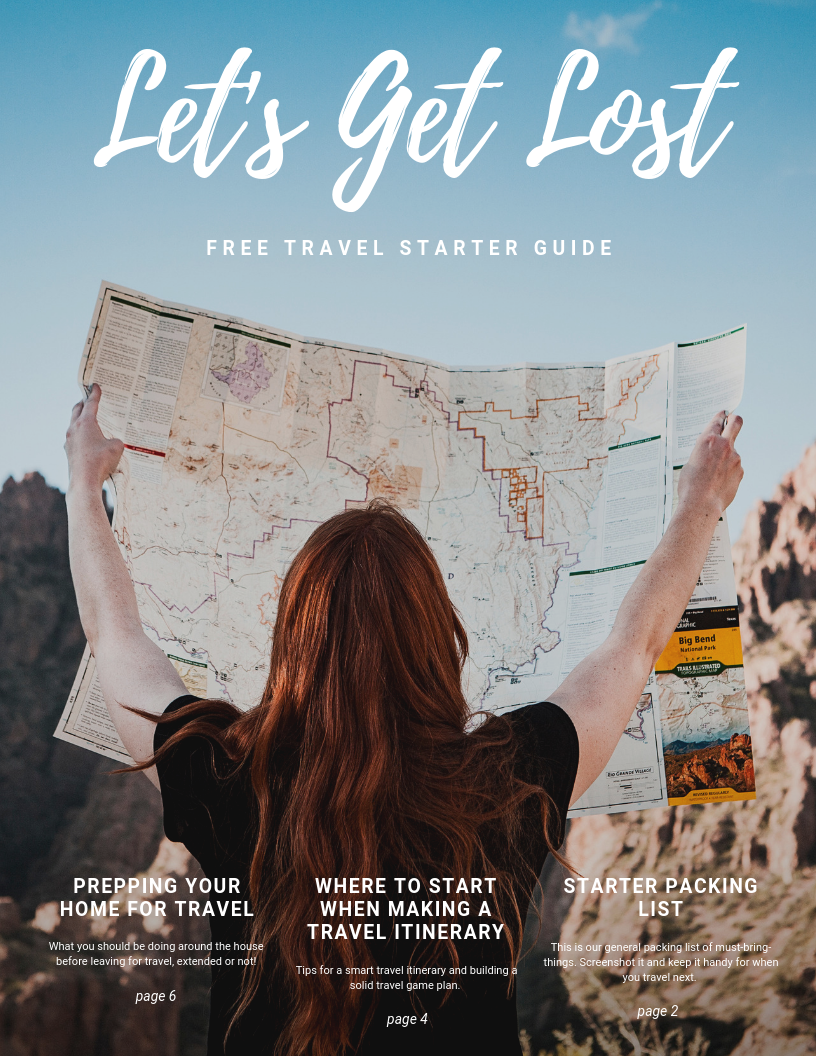 Subscribe to our blog posts via email and you'll receive a free downloadable Travel Starter Guide in your welcome email.


1 Comments
I didn't think to role up the legs like on the first pair of shorts. I just frayed all of mine and made some slits in some. I couldn't find any studs anywhere so I might order some online and then decorate my shorts some more. I was also trying to find a nice looking pattern to glue on to the shorts too..ahhh so many possibilities!!
ReplyDeleteComment here!