
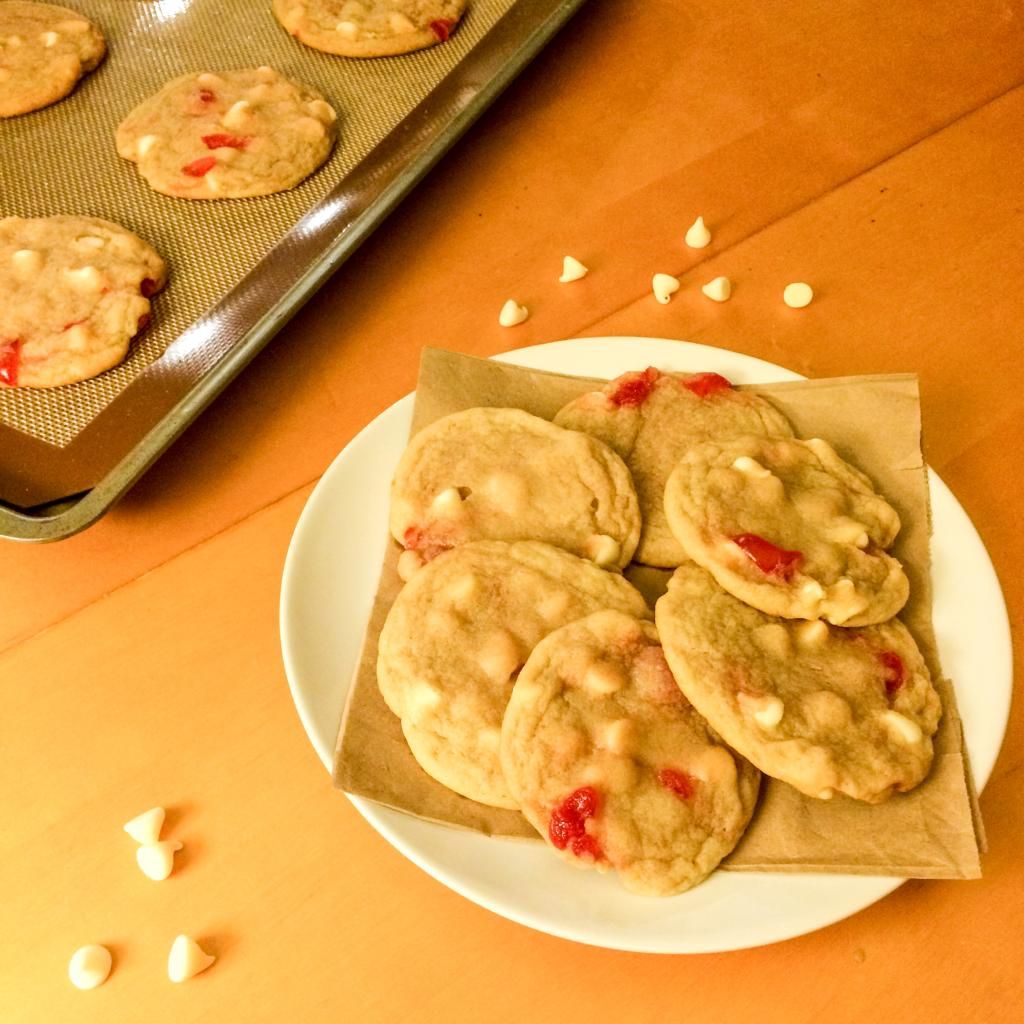
The perfect Valentine's Day cookie. This is laughable but these two are the only photos I got of these cookies. Once they were baked, they were doomed. Dear boyfriend couldn't even wait until they were fully cooled, he was picking them off one by one from the cooling rack!
By the way, if you haven't gotten yourself one of these silicone baking mats I highly suggest you get one. Or several. It's life changing and, good God, I don't understand how I lived before this baking mat. Cookies cook so evenly, the bottoms aren't overdone, and I don't ever have to worry about aluminum foil or cooking spray or washing cookie sheets. I just have to wash the baking mat gently. Nothing ever sticks to it! While making toasted sandwiches, the cheese oozed its way onto the mat and burned. It peeled right off the mat like a sticker. My cookie sheets are protected and stain-less, and clean up feels like a flawless victory every time. Winner!
White Chocolate Cherry Cookies
Ingredients (18 cookies)
- 1/2 cup unsalted butter, softened (1 stick)
- 1/2 cup granulated sugar
- 1/2 cup light brown sugar, packed
- 1 large egg
- 1 tbsp cream or milk
- 1 1/2 tsp vanilla extract
- 1 3/4 cup all-purpose flour
- 1 tsp baking soda
- 1/4 tsp salt, optional and to taste
- 1/3 cup maraschino cherries, patted dry, diced and packed loosely
- 3/4 cup white chocolate chips
Instructions
- In a large mixing bowl, beat the butter on low speed until smooth, 1 to 2 minutes.
- Add the sugars and beat on medium-high speed until creamed and well combined, 2 to 3 minutes. Then and add the egg, cream or milk, vanilla, and beat on medium-high speed until light and fluffy, about 3 minutes.
- Scrape down the sides of the bowl, and add the flours, baking soda, salt, and mix until just combined, about 1 minute.
- Add the cherries, white chocolate chips, and beat momentarily with the mixer until combined or fold in by hand; don't over-mix or the cherries will break.
- Cover with plastic wrap, and refrigerate for at least 30 mins; up to 5 days. Do not bake these cookies with dough that has not been properly chilled because they will spread.
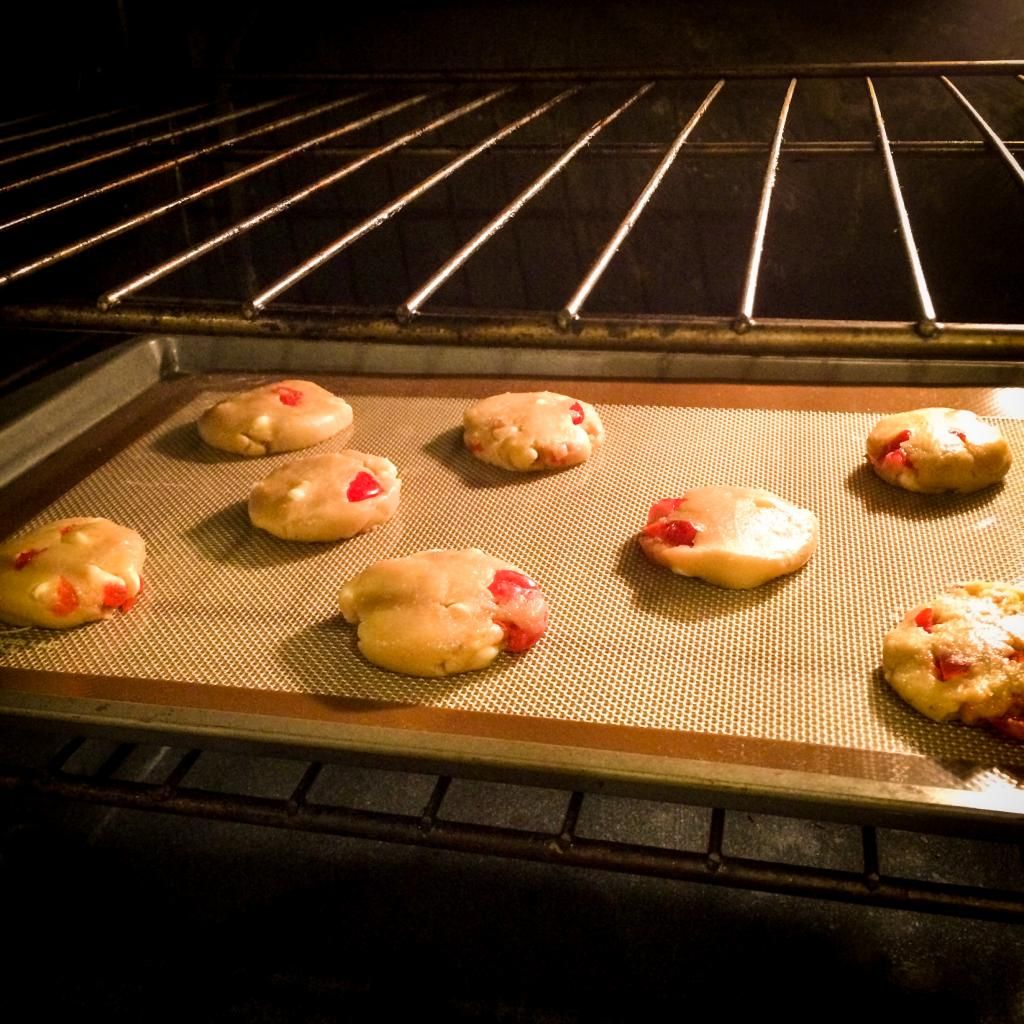
- Once dough has chilled, preheat oven to 350°F. Line a baking sheet with a Silpat Non-Stick Baking Mat (the best method), parchment paper, or spray with cooking spray.
- Using an ice cream scoop or your hands, take about 1/4-cup amounts of dough and roll into balls.
- Place dough on baking sheet, spaced at least 2 inches apart then flatten with your fingers or palm. 8 per sheet maximum. Bake for 8 to 10 minutes, or until tops have just set, even if slightly undercooked in the center, cookies will firm up as they cool. Allow cookies to cool on the baking sheet for 10 minutes before removing.
- Store cookies in an airtight container at room temperature for up to 5 days (I had success for 7 days), or in the freezer for up to 3 months. Unbaked dough can be formed into balls and stored in an airtight container in the refrigerator for up to 5 days, or in the freezer for up to 3 months.
Happy Baking!
Vicky


 Subscribe to our blog posts via email and you'll receive a free downloadable Travel Starter Guide in your welcome email.


0 Comments